So you want to start calisthenics — but you’re not sure where to begin. Maybe you attempted your first push-up and couldn’t complete one. Maybe the idea of a gym feels overwhelming or just isn’t an option. Whatever your starting point, the beginner calisthenics progression system exists precisely for you. Because the truth is, every athlete who can crank out twenty push-ups today once stared at the floor, unable to do a single rep. Strength isn’t a gift — it’s a skill you build, step by step, using nothing more than your own bodyweight.
In this complete guide, you’ll learn exactly how to begin your beginner calisthenics progression, why a structured step-by-step approach works far better than jumping straight to full push-ups, and how to build real, lasting strength from home — no equipment required, no experience necessary.
💡 Quick Answer: The best way to start calisthenics is by mastering beginner-friendly bodyweight exercises before attempting harder movements. Progress gradually through Wall Push-Ups → Incline Push-Ups → Knee Push-Ups → Negative Push-Ups → Half Push-Ups → Full Push-Ups. This systematic approach builds strength, refines technique, and keeps you injury-free.
Why a Beginner Calisthenics Progression Works Better Than “Just Trying Harder”
The most common mistake new trainees make is attempting a full push-up on day one, failing, and concluding they simply aren’t strong enough. That’s not how strength development works. Every movement skill in calisthenics sits on a spectrum — and progressive overload is the mechanism that carries you from one end to the other.
Think of it this way: a wall push-up and a full push-up are the same movement. The only difference is the angle of your body relative to the floor. As you work your way down from the wall to a lower incline, then to your knees, and finally to the floor, your muscles progressively adapt. Therefore, by the time you attempt a full push-up, your chest, shoulders, and triceps are ready for the load — because you’ve been training them all along.
Beyond strength, this graduated approach also teaches you something equally important: movement quality. Proper form at a beginner level creates clean, efficient neuromuscular patterns that make advanced skills like diamond push-ups, pike push-ups, and eventually handstands genuinely achievable. Because one excellent rep at the right difficulty level is always worth more than ten sloppy ones at the wrong level.
The Complete Push-Up Progression: Step by Step
Below is the exact beginner calisthenics progression we use at Sanook Fit. Work through each step only when you can complete the target rep range with controlled, pain-free movement. Rushing is the enemy of long-term progress — so trust the process.
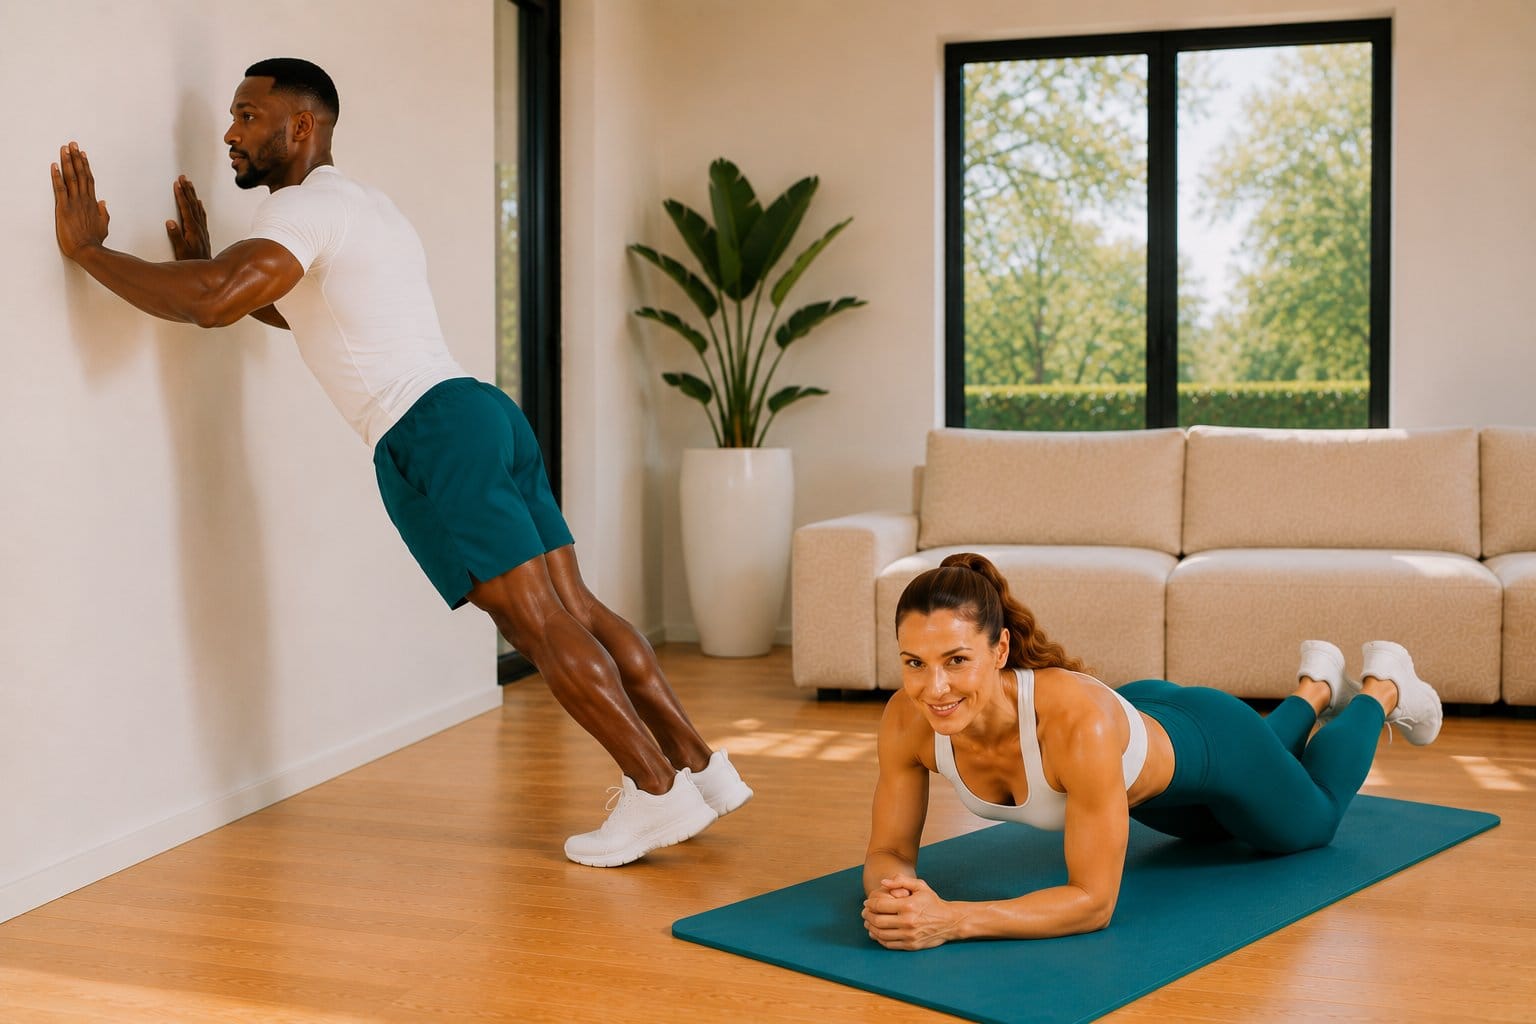
Step 1: Wall Push-Ups — The First Move in Any Beginner Calisthenics Plan
Wall push-ups are the perfect entry point for absolute beginners, people returning from injury, or anyone who wants to refine their movement pattern before adding load. Because you’re nearly upright, only a fraction of your bodyweight loads the pushing muscles — which means you can focus entirely on form.
How to perform them correctly:
- Stand arm’s-length from a wall, feet hip-width apart.
- Place your palms flat on the wall, just wider than shoulder-width at chest height.
- Brace your core and squeeze your glutes so your body forms one rigid line from heel to crown — avoid letting your hips sag or arch.
- Inhale as you bend your elbows at roughly a 45° angle to your torso, lowering your chest toward the wall with control.
- Exhale as you press back to the start, fully extending your arms without locking your elbows.
- Maintain steady breathing throughout, and keep your neck neutral — don’t crane your chin forward.
Target muscles: Pectorals (chest), anterior deltoids (front shoulders), triceps
Beginner goal: 3 sets of 12–15 controlled repetitions with full range of motion.
Step 2: Incline Push-Ups — Building the Bridge
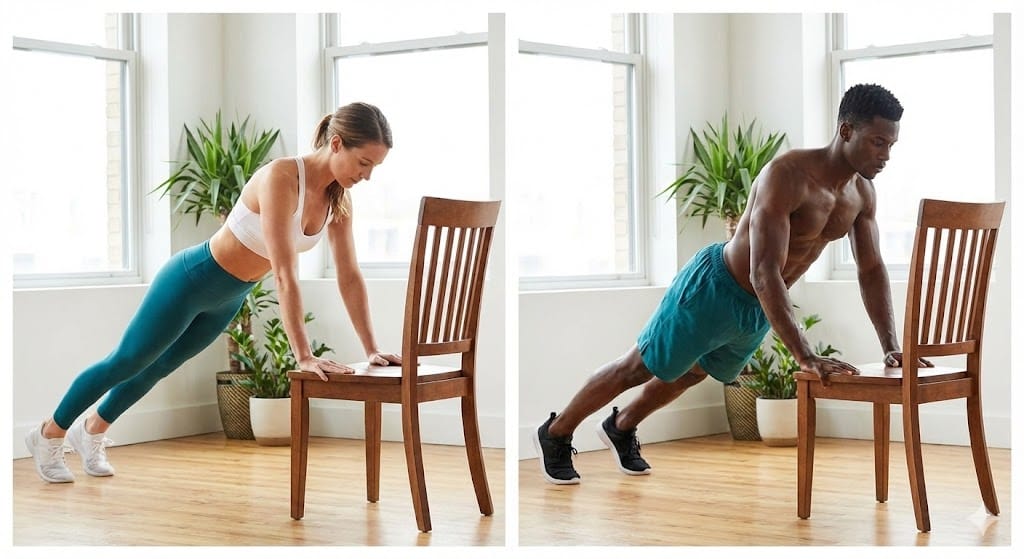
Once wall push-ups feel comfortable, it’s time to lower the angle. Incline push-ups place your hands on an elevated surface — a sturdy kitchen counter, a solid table, a secured bench, or even the arm of a firm sofa — which meaningfully increases the percentage of your bodyweight you’re pushing. As a result, your chest, shoulders, and triceps must work significantly harder than they did at the wall.
The key rule: The lower the surface, the harder the exercise. Therefore, start higher (like a counter) and work your way down to a chair height before moving to the next progression.
How to perform them: Same body alignment as wall push-ups — rigid plank position, elbows at 45°, controlled descent, full press. The only variable that changes is the angle.
Beginner goal: 3 sets of 10–12 repetitions before stepping to a lower surface or the next progression.
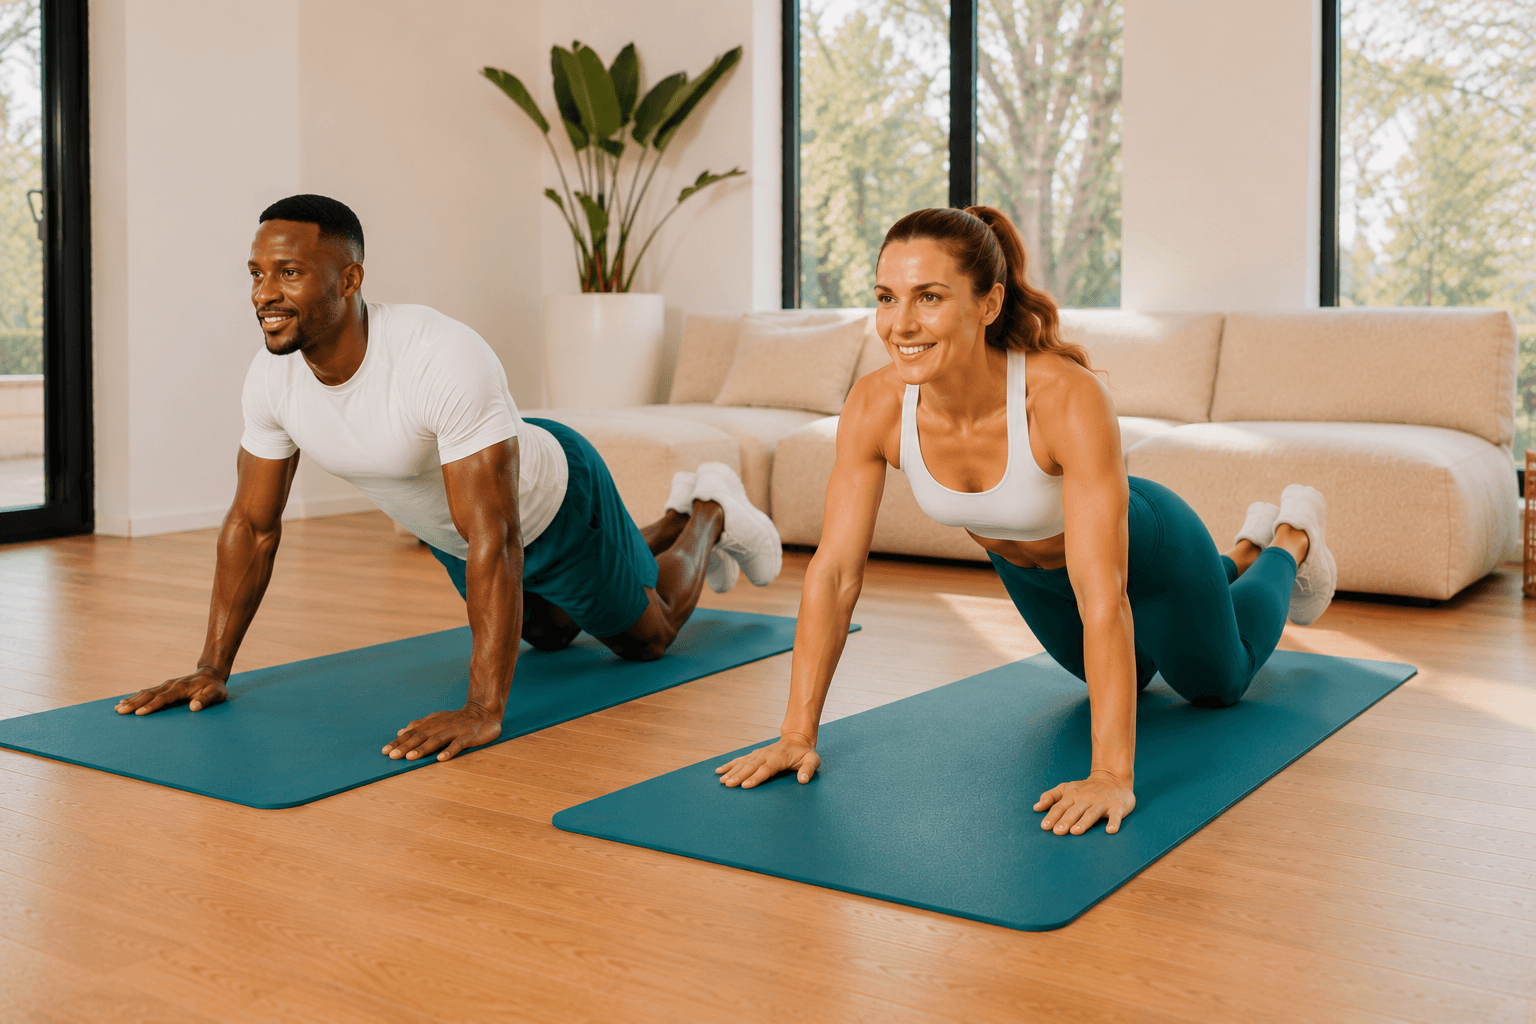
Step 3: Knee Push-Ups — Building Strength for Your Calisthenics Progression
Knee push-ups reduce the load by shortening the lever arm of your body — instead of supporting your entire length from feet to shoulders, you support from knee to shoulder. However, this only works if your technique is sound. A sagging or piked lower back defeats the purpose entirely.
How to perform them correctly:
- Begin on your hands and knees, hands slightly wider than shoulder-width.
- Walk your knees back slightly so your hips, shoulders, and knees form one straight diagonal line — your body should not be folded at the hips.
- Brace your core, draw your shoulder blades back and down, and maintain a neutral spine throughout.
- Lower your chest toward the floor with control, keeping elbows at approximately 45° from your torso.
- Press back up to the start, ensuring full elbow extension without hyperextension.
- Avoid letting your hips sag or your elbows flare out wide — both indicate the weight is too heavy or the core isn’t engaged.
Beginner goal: 3 sets of 8–12 full-range repetitions.
Step 4: Negative Push-Ups — Strength Through the Eccentric
Here’s where things get genuinely exciting. Negative push-ups isolate the eccentric (lowering) phase of the movement — and research consistently shows that eccentric training is one of the fastest ways to build muscle strength. Because most people are naturally stronger during the lowering phase than the pressing phase, negatives let you train the full push-up movement pattern before you can complete the full push-up itself.
How to perform them correctly:
- Start in a full push-up position — toes on the floor, body forming a perfectly rigid plank from heel to crown.
- Brace your core, pull your shoulder blades together, and fix your gaze about 6 inches in front of your hands.
- Inhale, and lower your chest toward the floor over 3–5 full seconds — count it out loud if it helps.
- Once your chest touches the floor, carefully place your knees down and use them to return to the starting position.
- Reset, brace, and repeat — never rush the lowering phase.
Beginner goal: 5–8 slow, controlled negative reps per set. Furthermore, try adding one extra second to your descent each week.
Step 5: Half Push-Ups — Closing the Range-of-Motion Gap
You’re very close now. Half push-ups let you practice the full push-up movement pattern while reducing the range of motion — specifically, you lower yourself halfway to the floor before pressing back up. This is not a permanent fixture of your training; rather, it’s a bridge to help your strength catch up to the full movement.
Focus on maintaining the same rigorous technique here: plank-straight body, controlled tempo, and active core. Additionally, you can use a folded yoga mat or firm pillow placed beneath your chest as a tactile target — touch it on the way down and press back up.
Beginner goal: 3 sets of 8–10 controlled half reps.
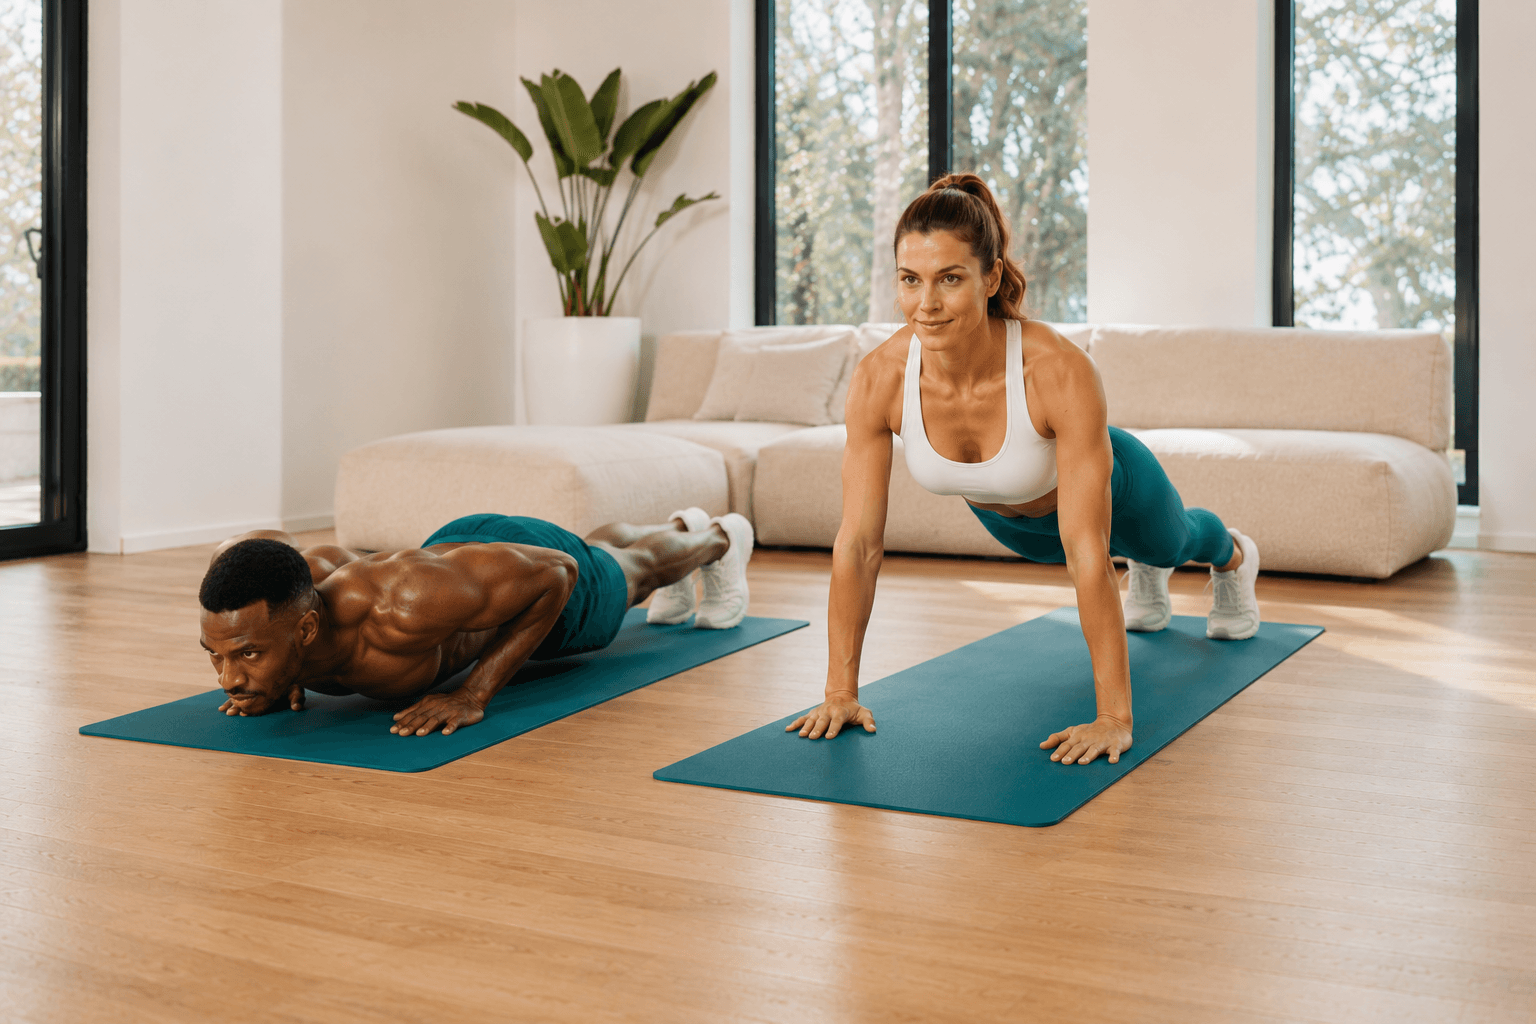
Step 6: Your First Full Push-Up — The Milestone Moment
By this point, your chest, shoulders, triceps, and core have been systematically trained through every phase of the movement. So when you drop into your first full push-up, you’re not guessing — you’re executing a pattern your body already knows. Furthermore, your supporting muscles (serratus anterior, rotator cuff, spinal erectors) are primed to protect your joints through the full range.
How to perform a perfect full push-up:
- Set up with hands slightly wider than shoulder-width, fingers pointing forward or slightly outward.
- Extend your legs fully, weight on the balls of your feet — your body should form a perfectly straight plank from heel to the crown of your head.
- Actively push the floor away as you press up — think “spread the floor apart” with your hands to engage the serratus anterior and stabilize the shoulder blades.
- Inhale and lower your chest to within an inch of the floor, elbows tracking at 45° (not flaring at 90° or tucking completely), at a controlled pace of 2–3 seconds.
- Exhale powerfully as you press to full extension, squeezing your chest at the top.
- Never let your lower back collapse or your hips pike upward — a sagging core places serious strain on the lumbar spine.
Beginner goal: Start with 1–3 clean full push-ups. Quality always beats quantity. As a result, over the following weeks, you’ll steadily add reps and eventually sets.
Your Weekly Beginner Calisthenics Schedule
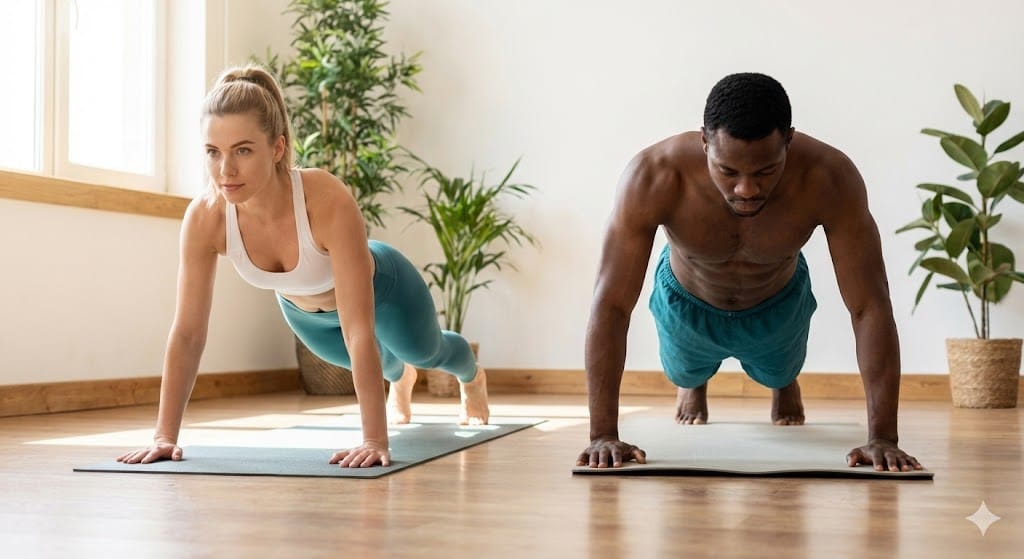
Consistency is the engine of any successful beginner calisthenics progression. However, consistency doesn’t mean training every single day — your muscles grow during recovery, not during the workout itself. Therefore, structure your week to balance training stimulus with adequate rest.
| Day | Activity |
|---|---|
| Monday | Beginner Strength Workout |
| Tuesday | Active Recovery (Walking, Light Stretching) |
| Wednesday | Beginner Strength Workout |
| Thursday | Active Recovery |
| Friday | Beginner Strength Workout |
| Saturday | Gentle Cardio or Mobility Work |
| Sunday | Complete Rest |
This three-days-on, active-recovery structure allows your muscles to rebuild stronger between sessions. Furthermore, the active recovery days keep blood flowing to sore tissues, which actually accelerates the recovery process rather than prolonging it.
A Complete Beginner Session: What One Workout Looks Like
Each training session in your beginner calisthenics progression should cover your whole body — because full-body training three times per week produces faster strength gains for beginners than split training. Here’s a sample session you can run right now, in your living room:
Warm-Up (5 minutes)
- Arm circles (10 forward, 10 backward)
- Shoulder rolls
- Hip circles
- Marching in place (60 seconds)
- Bodyweight squats (10 reps, slow and controlled)
Main Workout
- Push-Up Progression (your current step) — 2–3 sets × 8–12 reps
- Bodyweight Squats — 2–3 sets × 10–15 reps
- Glute Bridges — 2–3 sets × 10–15 reps
- Bird Dogs — 2 sets × 8 reps per side
- Plank Hold — 2–3 rounds × 15–30 seconds
Cool-Down (5 minutes)
- Chest stretch (doorway or clasped-hands stretch, 30 seconds)
- Shoulder cross-body stretch (30 seconds per side)
- Hamstring stretch (30 seconds per leg)
- Child’s pose (60 seconds)
- Deep diaphragmatic breathing (5 slow cycles)
5 Beginner Calisthenics Mistakes (And How to Avoid Them)
Even with the best intentions, most beginners derail their progress through a handful of predictable errors. Recognizing these traps before you fall into them can save you weeks of frustration — or worse, an injury that sidelines you entirely.
1. Skipping the Easier Progressions
Wall push-ups may look too simple — but they’re not. They teach you the exact movement pattern, body alignment, and breathing rhythm that you’ll carry through every subsequent progression. Furthermore, they allow your tendons and joint capsules (which adapt more slowly than muscle tissue) to prepare for the loads ahead. Therefore, never skip steps in your beginner calisthenics progression.
2. Sacrificing Form for Extra Reps
One technically perfect rep builds more strength — and more safety — than ten sloppy ones. If your hips sag, your elbows flare, or you’re collapsing halfway through a rep, you’re training dysfunction into your movement patterns. Because these patterns are difficult to un-learn later, it’s far better to drop back to an easier variation and nail the technique first.
3. Skipping Rest Days
More is not always better — especially when you’re starting out. Your muscles don’t grow during the workout; they grow between workouts, during the repair process. As a result, training without adequate recovery doesn’t accelerate your progress — it slows it down by preventing the very adaptation you’re training for. Stick to your three-day schedule and trust the process.
4. Expecting Results Too Quickly
Meaningful strength gains typically take 4–8 weeks of consistent training to become visible — and that’s completely normal. Your nervous system is learning first (you’ll notice better control and coordination before you notice bigger muscles), and structural adaptation follows. However, if you’re showing up consistently and eating and sleeping well, progress is happening even when you can’t see it yet.
5. Quitting Just Before the Breakthrough
Many beginners stop training right at the point where genuine progress is about to become visible — typically around weeks 3–5 of a new program. Consistency through the difficult early phase is exactly what separates the people who build lasting fitness from those who stay perpetually “starting over.” So keep showing up. The results will come.
Beyond Push-Ups: Expanding Your Beginner Calisthenics Progression
The push-up is just one pillar of a balanced calisthenics practice. As you advance through the push-up progressions, you’ll also want to develop strength across the other fundamental movement patterns — because well-rounded fitness requires training your entire body, not just your chest and arms.
Here are the key movement categories to develop alongside your push-up progression:
- Squatting pattern: Bodyweight squats → Sumo squats → Jump squats → Pistol squat progressions. Read our full No-Equipment Leg Workout guide for the complete lower-body progression.
- Hip hinge pattern: Glute bridges → Single-leg glute bridges → Romanian deadlift pattern. Because the posterior chain (hamstrings, glutes, lower back) is often undertrained, this category is critical.
- Core stability: Dead bugs → Bird dogs → Plank holds → Side planks. Visit our Best Bodyweight Ab Workouts guide for a full core progression roadmap.
- Pull pattern: This is harder to train at home, but door-frame rows and table rows are excellent starting points for developing your back and biceps.
For the full picture of how these movement patterns connect into a structured long-term system, our guide on Bodyweight Progressions for 2026 walks you through every stage from beginner to advanced. Additionally, if you’re brand new to training altogether, our Bodyweight Training for Beginners: Complete Guide provides the foundational context you need.
Building Confidence Through Your Calisthenics Progression
Here’s something that doesn’t get discussed enough in fitness content: one of the most powerful outcomes of a structured beginner calisthenics progression isn’t physical — it’s psychological. Every time you hit a new milestone (your first set of incline push-ups with perfect form, your first negative push-up, your first honest full rep), your brain receives a proof of competence. “I can do things today that I couldn’t do last month.”
That quiet confidence compounds. It spreads beyond training — into how you carry yourself at work, in your relationships, in how you approach challenges. Furthermore, because calisthenics requires no gym membership, no equipment budget, and no fixed schedule, the barrier to entry disappears entirely. The only resource it demands is your consistency.
At Sanook Fit, we’ve seen complete beginners transform not just their bodies but their entire relationship with physical challenge — because they trusted a system, showed up repeatedly, and celebrated every small win along the way. That’s the real promise of calisthenics: it meets you exactly where you are and takes you as far as you’re willing to go.

The Sanook Fit Beginner Blueprint: 5 Principles for Lasting Progress
After working with beginners at every starting point, we’ve distilled the process down to five non-negotiable principles. These principles don’t just apply to push-ups — they apply to every movement in your beginner calisthenics progression, and frankly, to every worthwhile challenge in life.
1. Master the Basics Before Advancing
Wall push-ups, bodyweight squats, and planks are the foundation for everything that comes later. Because the basics establish movement patterns, motor control, and joint integrity, rushing past them creates weaknesses that compound over time. Spend real time here — it pays dividends for years.
2. Prioritize Technique Over Volume
Perfect movement patterns create better long-term strength than chasing rep counts. Slow, controlled practice always wins in the long run. Therefore, if you’re unsure whether your form is correct, film yourself from the side, compare to a reliable demonstration, and adjust before continuing.
3. Trust Progressive Overload
You don’t need dramatic improvements every session. One additional rep, a slightly lower incline, a two-second longer plank — these micro-progressions compound into remarkable results. Furthermore, tracking them (even in a simple phone note) gives you undeniable evidence of improvement, which is the most powerful motivator there is. For more on this, see our guide on building consistent fitness habits.
4. Recover as Hard as You Train
Strength develops during recovery — not during the workout. Sleep is the single most anabolic (muscle-building) stimulus available to you, and it’s completely free. Additionally, eating adequate protein (0.7–1g per pound of bodyweight is a solid starting point), staying well hydrated, and managing stress all directly impact how fast your body adapts. Don’t underestimate recovery.
5. Keep Showing Up
The people who succeed in calisthenics are rarely the most naturally talented. They’re almost always the most consistent — the ones who keep practicing when progress feels slow, who return after a missed week, who celebrate a single clean rep as the victory it truly is. Consistency is your greatest competitive advantage. Use it.
Ready to Start? Take the 30-Day Sanook Fit Challenge
Whether you’re starting with wall push-ups or working toward your first full rep, the Sanook Fit 30-Day Beginner Challenge gives you a structured, progressive path forward — with built-in rest days, full-body workouts, and modifications for every level. Because consistency is easier when you have a clear plan in front of you, we’ve done the planning so you don’t have to.
The challenge includes: progressive beginner-friendly workouts, bodyweight strength sessions, active recovery days, modifications for every fitness level, zero equipment required, and step-by-step coaching at every stage of your beginner calisthenics progression.
Follow along on YouTube, Instagram, TikTok, and Facebook — and make sure to also check our guides on preventing home workout injuries and the best warm-up and cool-down routines to train safely from day one.
Start Your Beginner Calisthenics Progression Today
Every impressive push-up began as an ordinary first attempt. Maybe today you can only manage wall push-ups — and that’s not just okay, that’s exactly right. Strength isn’t built in a single session; it’s built through hundreds of small, consistent decisions to keep showing up, even when progress is invisible, even when it’s hard, even when you’re not sure you’re improving.
But here’s what we know for certain: if you follow this beginner calisthenics progression — step by step, with honest technique and genuine patience — your first full push-up is not a question of “if.” It’s a question of “when.” And that day is closer than you think.
So get up. Find your wall. Put your hands on it. And start.